
Up an Accurate Perimeter Guarding System with AcuSense Cameras
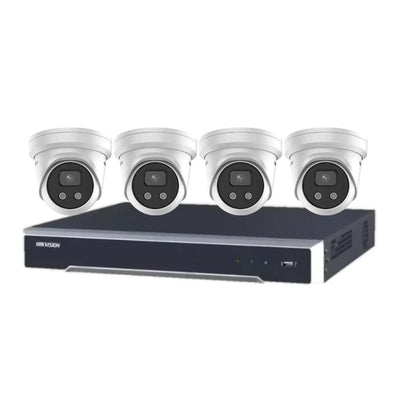
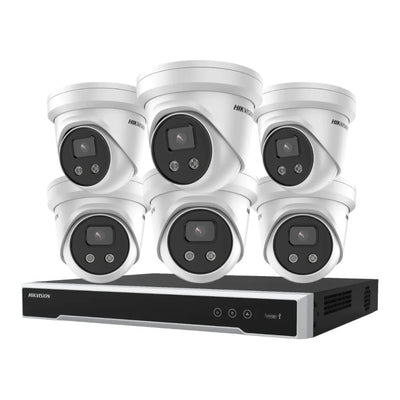
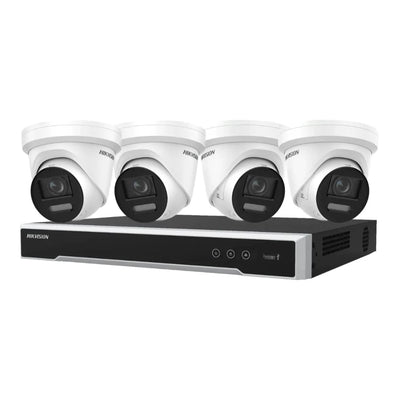
This guide outlines the steps to establish an effective perimeter guarding system and continuous/event recording using AcuSense cameras paired with an AcuSense NVR, as well as standard IPCs and an AcuSense NVR.
Step-by-Step Instructions
Step 1: Access Your Camera via NVR
- Begin by logging into your camera through the NVR using a web browser.
- To find the IP address of your NVR, launch the SADP tool available for download here. The IP address will appear next to your NVR model number.
Step 2: Open a Web Browser
- Open an internet browser, such as Internet Explorer, and enter the IP address of your NVR that you obtained in Step 1.
Step 3: Log In
- Enter your username and password associated with the recorder to access the NVR.
Step 4: Enable Virtual Host
- Navigate to Configuration > Network > Advanced Settings > Other.
- Check the box for “Enable Virtual Host” to allow camera access.
Step 5: Access Camera Management
- Head to Configuration > System > Camera Management and click on the blue link next to the camera you want to access.
Step 6: Log Into the Camera
- Use the same username and password as the NVR (if the NVR activated the camera) to complete the login process.
Now that you’re logged into the camera, you can proceed to configure the AcuSense settings.
Configuring AcuSense Features
Step 1: Disable Motion Detection
- Go to Event > Basic Event and disable motion detection, as only Smart Event should be utilized with AcuSense cameras.
Step 2: Set Up Smart Events
- Navigate to Event > Smart Event and use line crossing detection to draw the desired lines. You can select detection for Human and Vehicle as needed. If you cannot see the live view, you may need to install the IE Tab extension from the Chrome Web Store here.
Step 3: Configure Linkage Method
- In the Linkage Method tab, select Flashing Alarm / Audible Alarm and ensure that "Notify Surveillance Centre" is checked.
Step 4: Schedule Flashing Alarm Light Output
- Go to Basic Event > Flashing Alarm Light Output and configure the schedule for when the lights should flash.
Step 5: Configure Audible Alarm Output
- In this section, select a warning sound and set your desired schedule for the audible alarms.
For additional resources, you can check the Hikvision training video on how to set up Liveguard and refer to the Quick Start Guide of AcuSense Solutions (PDF).
Troubleshooting Push Notifications
If you are not receiving push notifications, revisit the NVR settings (not the camera) to ensure that "Notify Surveillance Centre" is enabled for that camera. After making any necessary adjustments, return to Step 5 to resave the line settings on the camera.
This guide should provide you with a comprehensive approach to setting up your AcuSense system effectively. If you have any further questions or need assistance, feel free to reach out!